This article details all of the steps you need to take in order to set up your first device, and running a test against it.
Table of contents
Creating a vault
Adding your device
Creating a test
First of all
This guide assumes you have correctly installed Netpicker on your system, and your device is reachable. Let’s first check if Netpicker is connected to your network. For that, you need to look at the top-right corner of your screen:

If the circle is red, then there is no connection yet to your network. Please refer to the getting started guide, and double-check whether you have executed all necessary steps. If the circle is green, then excellent! Let’s get started.
Creating a vault
First of all we need to tell Netpicker how to log into our device by telling it its username and password. For that we use vaults. For this we need to go to the devices section, and then the Vault tab. Netpicker allows you to create several different vaults, but for our simple example the default vault suffices. We enter here our very secure credentials of myuser and mypassword:
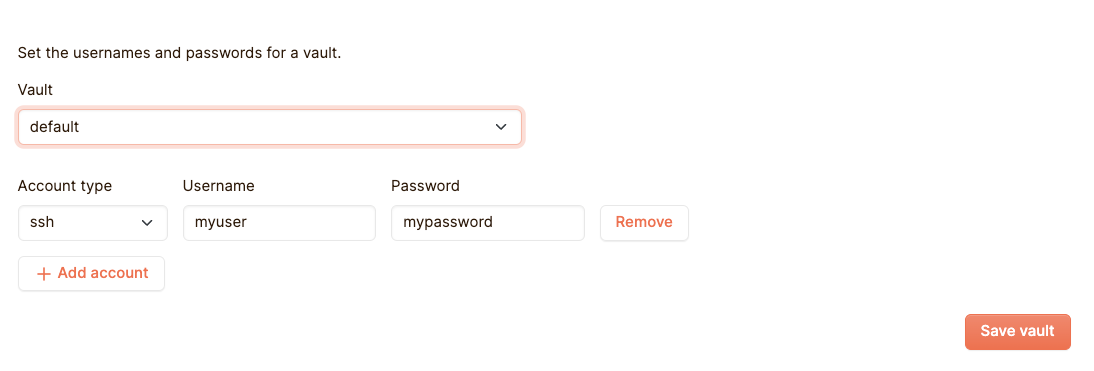
Click on Save vault and you’r ready to move on to the next step.
Adding your device
For this guide we are going to add a simple Cisco IOS device. This process works the same with any other device, as long as it’s supported by NetMiko. We need to go to the Devices tab in the Devices section, and at the top-right bar we need to click on the “Add device button”:
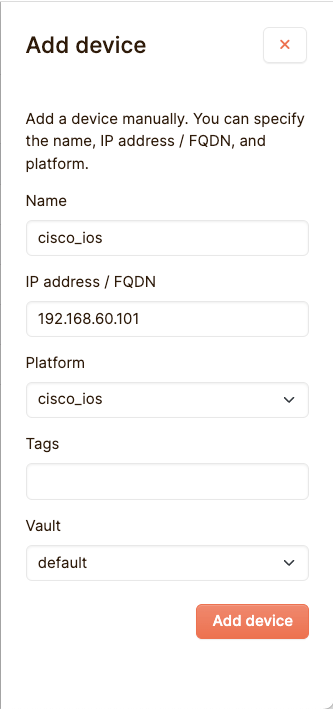
We have called our device cisco_ios, which can be entered for the hostname. It is recommended that you use the hostname that is registered within your device in order to avoid confusion. The IP Address/FQDN field needs the address at which your host can be reached. As the platform you need to select what platform the device is using, so that Netpicker knows what commands it needs to send to retrieve the device’s configuration. Tags are not needed yet at the moment, and for the Vault, the default vault is fine. Click on “Save”, and your device should be added:
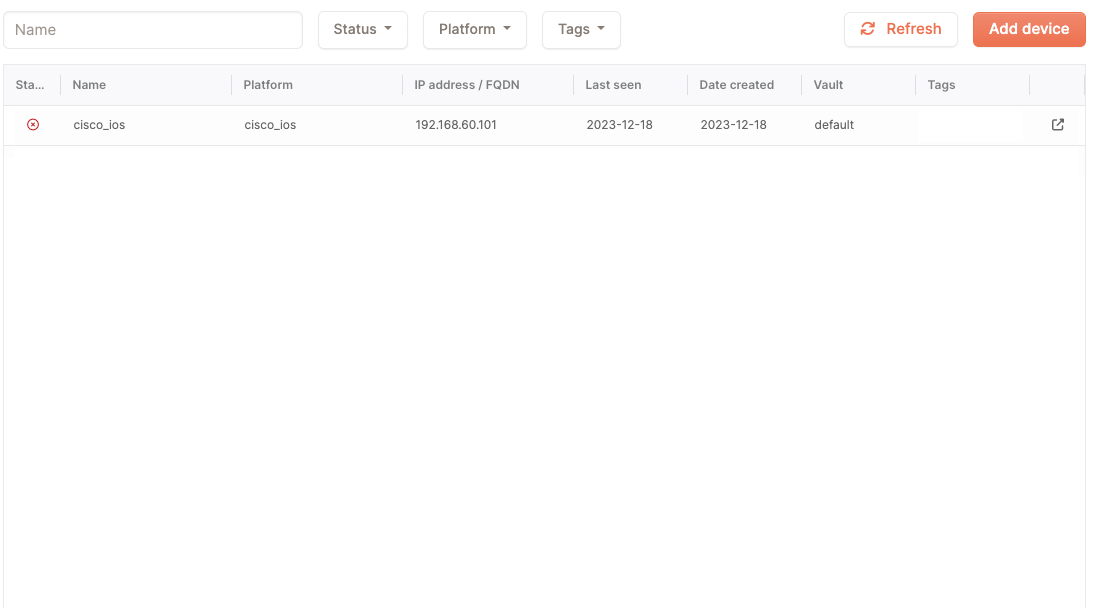
Now we need to make sure to retrieve cisco_ios’s configuration. For that we need to go to the backups section. Select cisco_ios in the grid and then click on the button “Start config backup”:
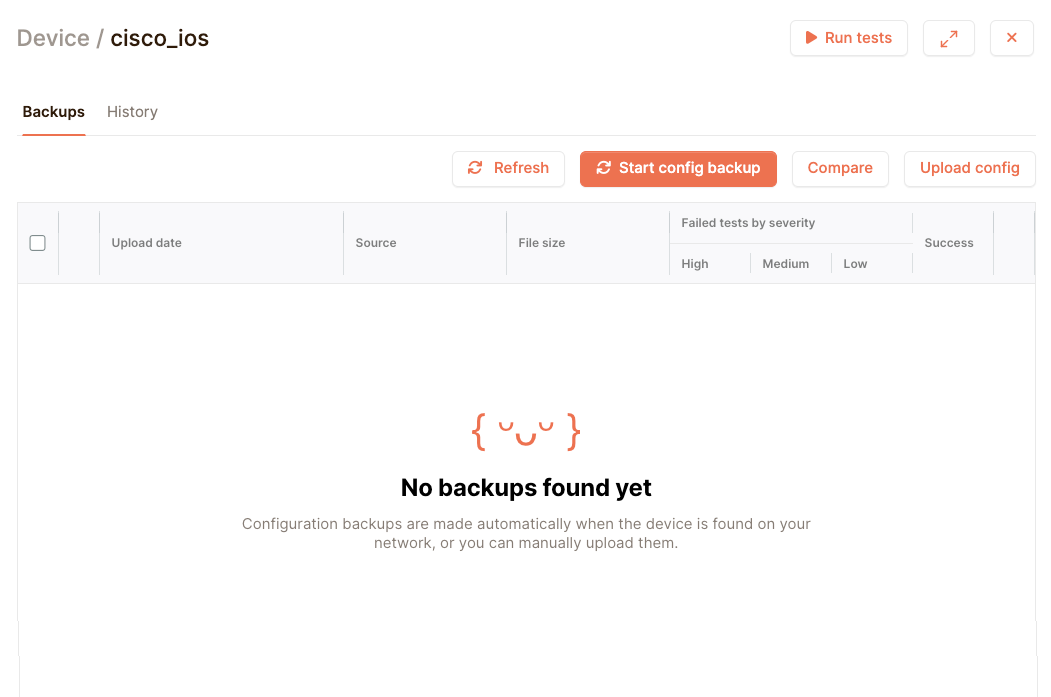
Once netpicker has talked to our device and everything went right, you should see a config appear. You may want to click on the Refresh button once a while:

Creating a test
You are now ready to test your device. For our example we want a simple check to see if the version number equals “12.0”. To get started, move to the “Policies” section in the left sidebar:

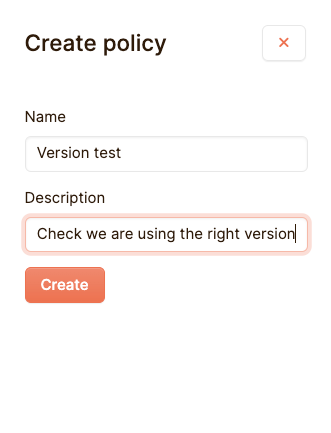
Click on create policy to create our new policy:
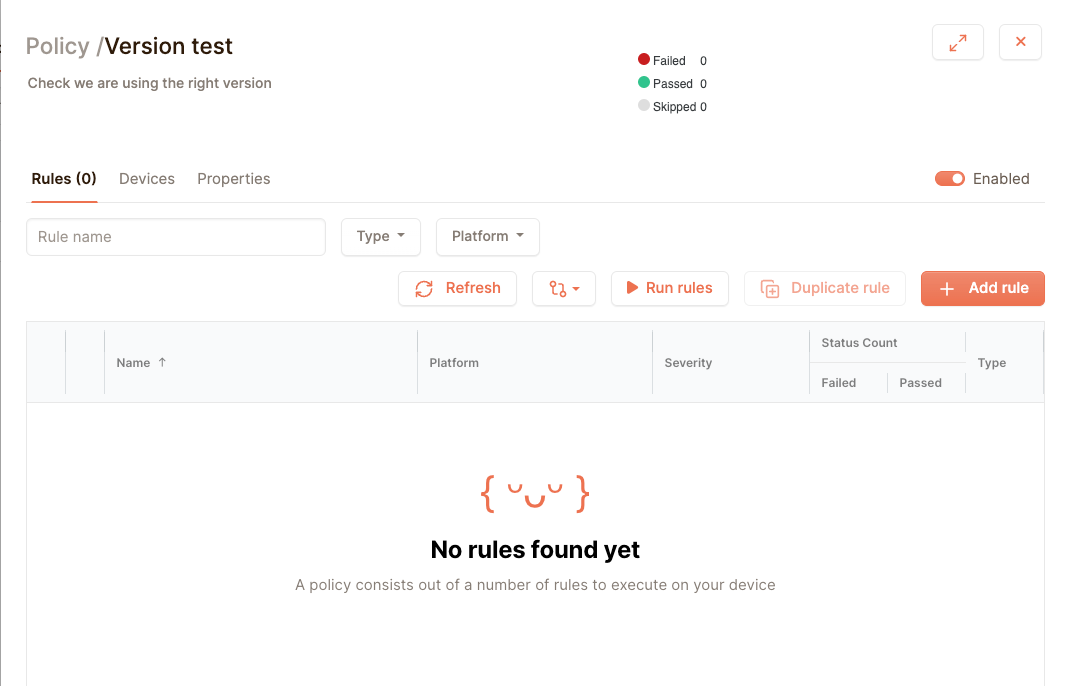
There’s a lot going on here, but what you need to do now is create a new rule using the Add Rule button. You can see a policy as a collection of tests, and a rule as single test.
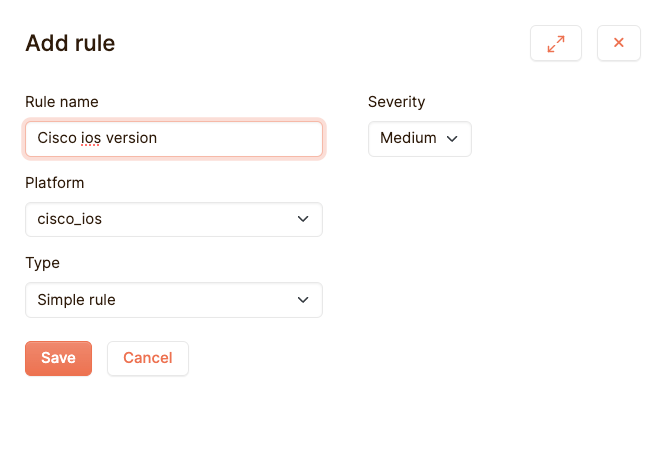
Rules are only run on devices of their platform. This way you can group devices together in a policy while also making sure that each different platform of devices is checked in its own way. Rules have a severity, to allow you to differentiate between the really important problems and the ones with a little less priority. For now let us create a simple rule:
So a basic rule works like this: you have a configuration, which is essentially a large piece of text. During the evaluation of a test, every line in the field “Must include the text” is checked whether it’s present in the configuration. If all lines are present, the text succeeds. If not, the test fails. There are lots of more options to this, but for our simple example we just fill in “version 12.0”, and our test now checks if this line is present, somewhere in our cisco_ios device.
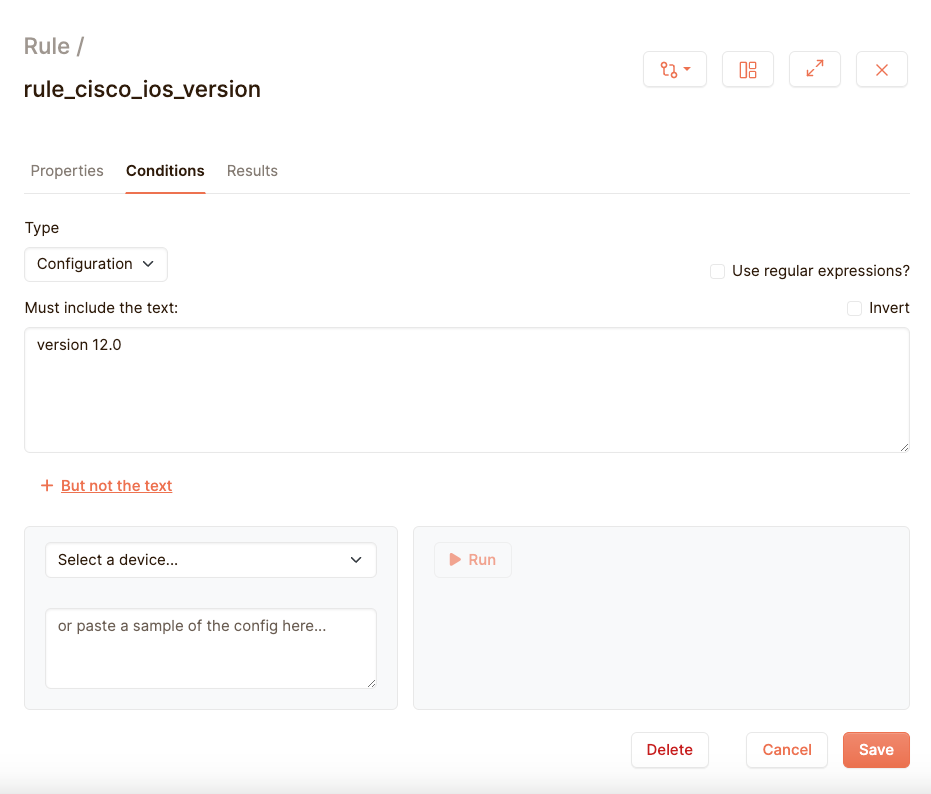
You can save your test and all your Cisco IOS devices will now be checked that they have version 12.0. You can do a quick verification whether the test is correct by using the debug feature. At the “Select a device” dropdown, select our cisco_ios device, and then click on the “Run” button:

And there we go, it’s compliant! For the record, this is what happens when you enter a line that is not present in your configuration:
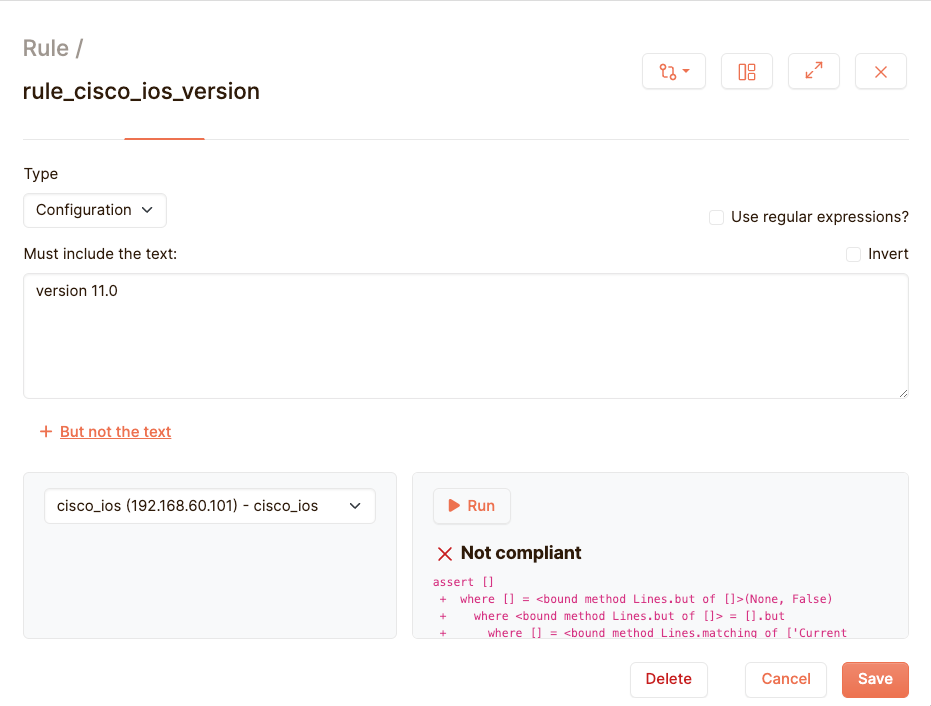
The textbox below contains more information about why your test has failed. This will become more useful as soon as you start writing more complex python tests that aren’t as simple as our little example here. You can also use regular expressions, and test against the output of a command that is run directly on the device CLI.